Table of contents
- Introduction to Cooking Thin Cut Chicken Breast
- Ideal Cooking Times for Thin Cut Chicken Breast
- How to Check if Thin Cut Chicken Breast is Fully Cooked
- Tips for Cooking Thin Cut Chicken Breast Perfectly Every Time
- Common Mistakes to Avoid When Cooking Thin Cut Chicken Breast
- Storage and Leftover Tips
- Conclusion
Introduction to Cooking Thin Cut Chicken Breast
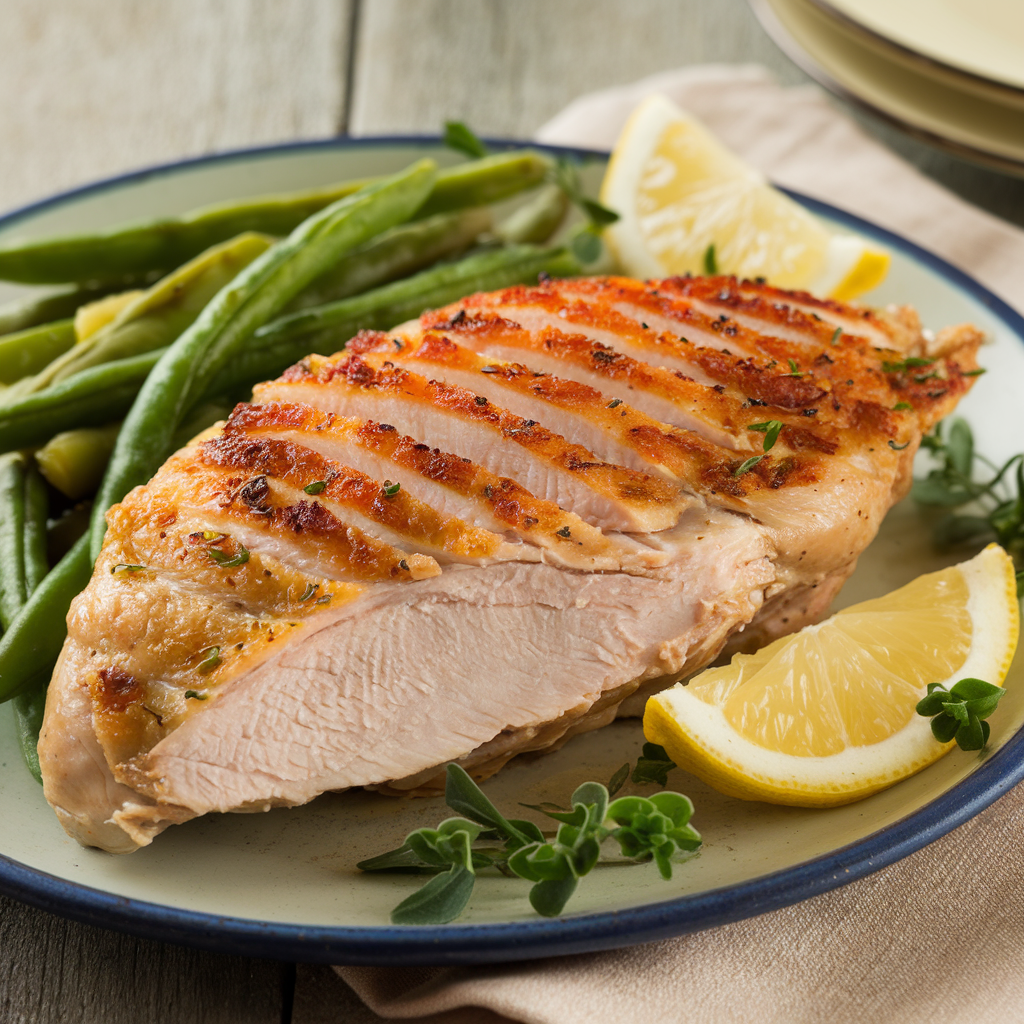
Cooking thin cut chicken breast can be tricky if you’re not familiar with the right techniques and cooking times. Thin cut chicken breasts cook faster than regular chicken breasts, which makes them ideal for quick meals, but they can also dry out if overcooked. Understanding how long to cook them, how to check for doneness, and using the right cooking methods will ensure a juicy and flavorful result every time.
Ideal Cooking Times for Thin Cut Chicken Breast
Cooking thin cut chicken breast requires precise timing to ensure it stays moist and tender. Because of its thinness, it cooks faster than regular chicken breasts, but it’s easy to overcook if you’re not careful. Below are the ideal cooking times for the most common methods of cooking thin cut chicken breast.
Cooking Thin Cut Chicken Breast in a Pan
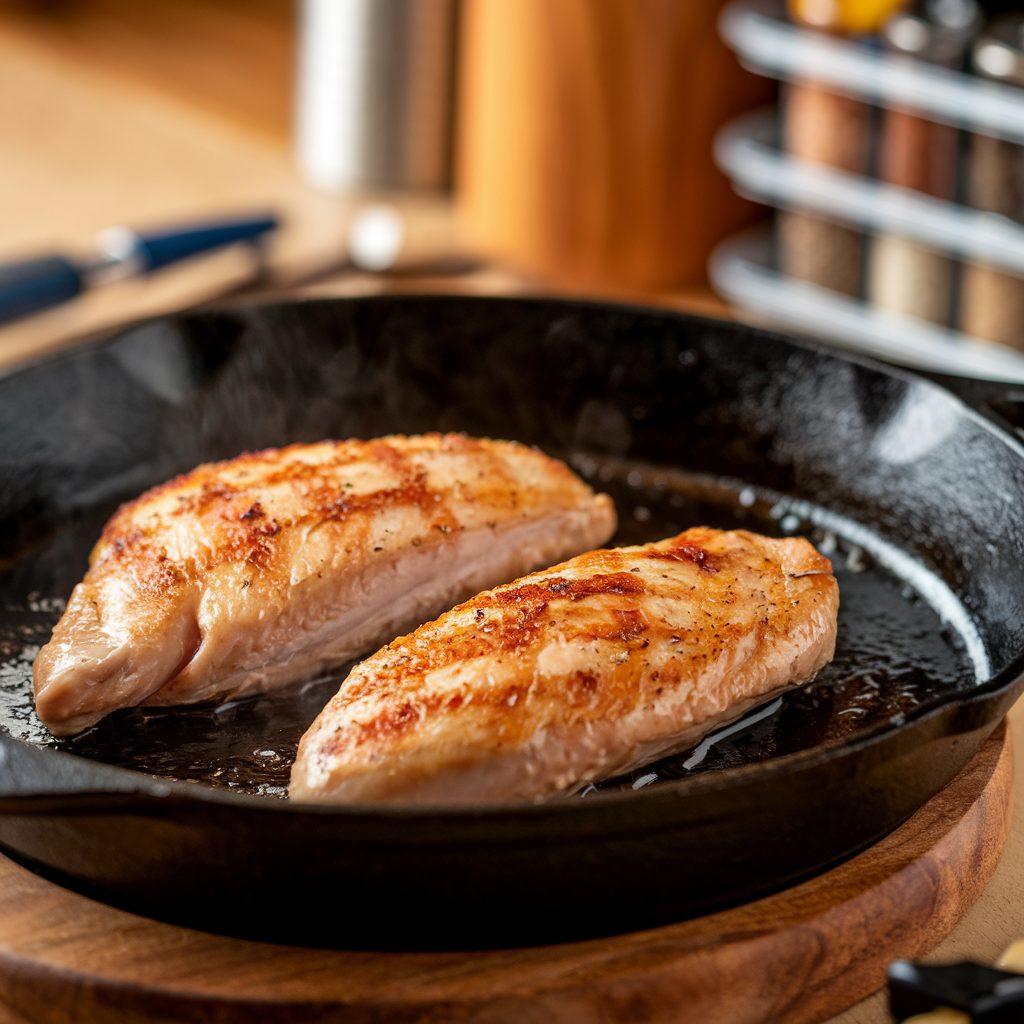
Pan-searing is one of the quickest methods to cook thin cut chicken breast, and it helps retain moisture while giving the chicken a nice crispy exterior.
- Recommended Pan-Searing Time
Typically, thin cut chicken breasts will need around 3-4 minutes per side over medium-high heat. This ensures the chicken gets golden brown on the outside while staying juicy on the inside. Make sure not to crowd the pan—cook the chicken in batches if necessary. - Tips for Even Cooking
To ensure even cooking, avoid flipping the chicken too often. Let it sear undisturbed on each side, and make sure your pan is preheated before adding the chicken. Using a lid can also help retain heat, cooking the chicken more evenly and faster.
Grilling Thin Cut Chicken Breast
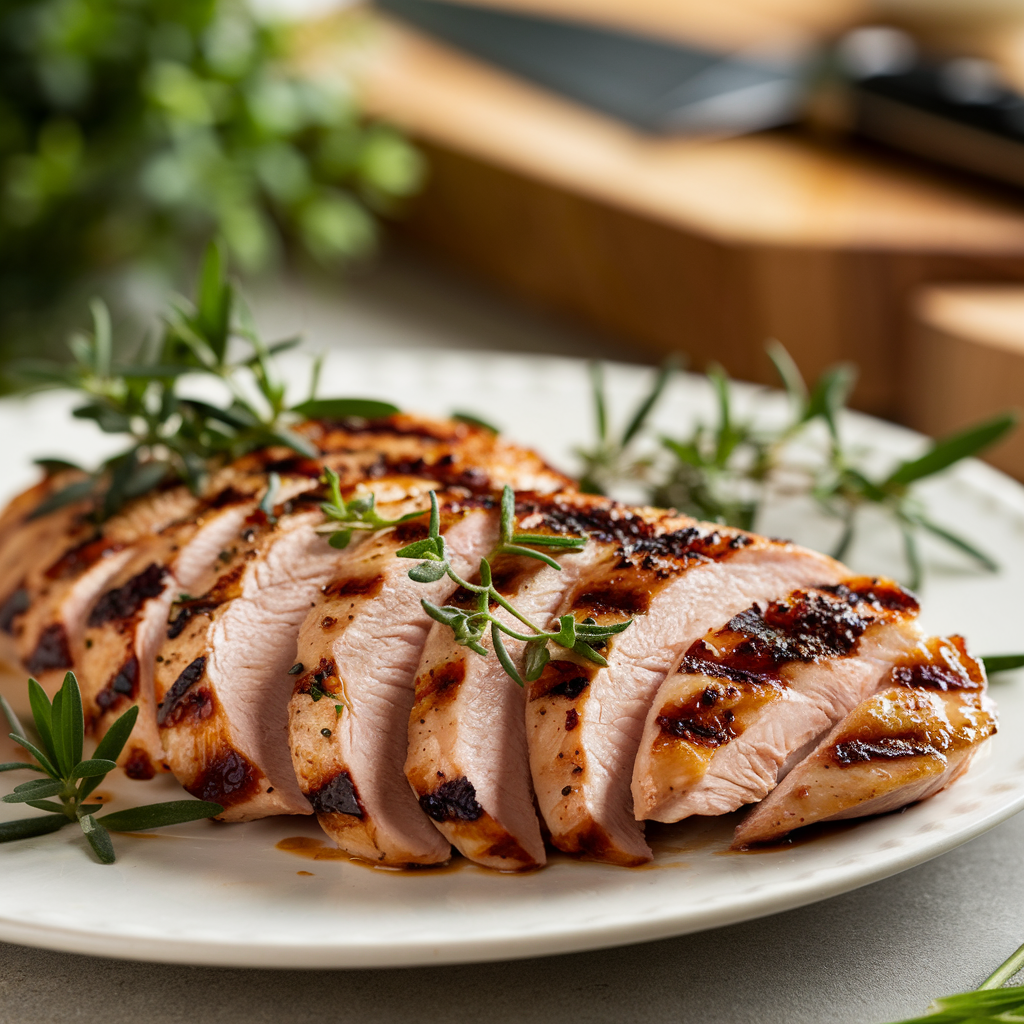
Grilling is another popular method for cooking thin cut chicken breasts, especially during warmer months. The smoky flavor from the grill can enhance the taste, but you must be careful not to dry out the chicken.
- Grill Time Per Side
On a preheated grill, cook thin cut chicken breasts for about 2-3 minutes on each side. The chicken should have nice grill marks and a slightly crispy exterior. - How to Check for Doneness on the Grill
To ensure the chicken is fully cooked, use a meat thermometer to check that the internal temperature has reached 165°F (75°C). If you don’t have a thermometer, you can also slice into the chicken to make sure it’s no longer pink inside.
Baking Thin Cut Chicken Breast
Baking is a great hands-off method for cooking thin cut chicken breast, especially if you’re making multiple servings at once.
- Oven Temperature and Cooking Time
Preheat your oven to 375°F (190°C). Place the thin cut chicken breasts on a baking sheet and bake for 15-20 minutes, depending on the thickness. The thinner the chicken breast, the shorter the cooking time. Check the chicken at the 15-minute mark to ensure it’s cooked through. - How to Prevent Dry Chicken in the Oven
To prevent the chicken from drying out, you can cover it with foil during the first half of the baking time. For extra moisture, you can also add a marinade or baste the chicken halfway through cooking.
With these cooking times and tips, you’ll be able to confidently prepare thin cut chicken breasts using different methods. The key is to monitor the chicken closely, as thin cut breasts cook quickly but can easily become dry if overdone.
How to Check if Thin Cut Chicken Breast is Fully Cooked
Ensuring your thin cut chicken breast is fully cooked is crucial for both safety and taste. Undercooking can lead to foodborne illnesses, while overcooking can result in dry, tough chicken. Fortunately, there are several reliable methods to check if your chicken is done.
Using a Meat Thermometer for Accurate Results
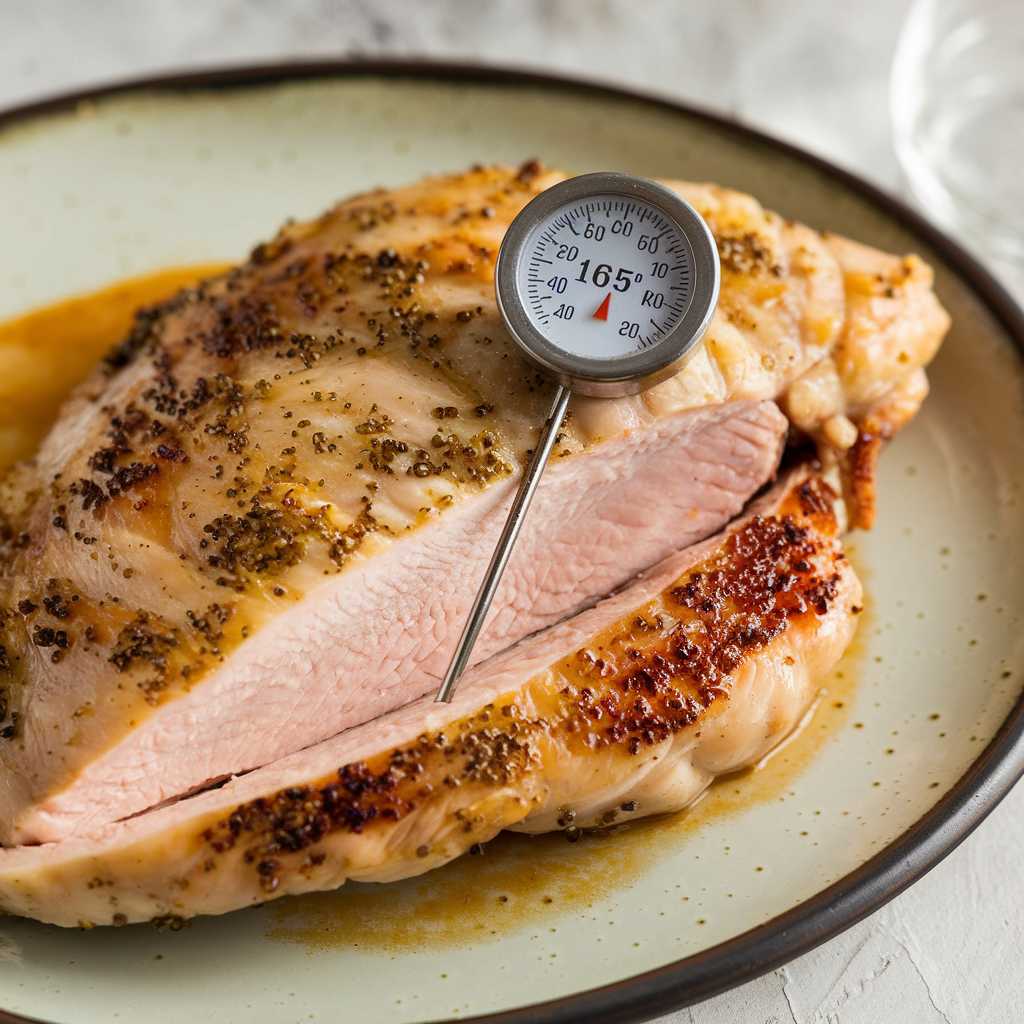
A meat thermometer is the most accurate way to determine whether your chicken is fully cooked. It helps you avoid guesswork and ensures that your chicken reaches a safe temperature without overcooking.
- Ideal Internal Temperature for Chicken Breast
The USDA recommends cooking chicken to an internal temperature of 165°F (75°C). This temperature ensures the chicken is both safe to eat and cooked through without being overdone. Insert the thermometer into the thickest part of the breast to get an accurate reading. - Why a Meat Thermometer is Important
Using a meat thermometer eliminates the risk of undercooking or overcooking your chicken. It gives you a precise measure, especially when cooking thin cut chicken, which can be easy to overcook if you’re relying solely on time. For perfect results, invest in a digital meat thermometer.
Visual and Textural Cues to Check Doneness
If you don’t have a meat thermometer, there are other ways to check if your thin cut chicken breast is done. While a thermometer is the best method, understanding visual and textural cues can help you make an educated guess.
- Cutting Open the Chicken Breast
One of the easiest ways to check if your chicken is cooked is to slice into the thickest part of the breast. The meat should be opaque and the juices should run clear, not pink. If you see any pinkness or red juices, the chicken needs more time to cook. - Signs of Juiciness and Tenderness
Properly cooked chicken will feel tender when you press on it, and the texture will be firm but not rubbery. If the meat feels tough and stringy, it’s likely overcooked. A juicy, tender chicken breast is the goal, so keep an eye on the texture as it cooks.
By using these methods, you can be sure that your thin cut chicken breast is cooked perfectly, whether you’re using a thermometer or checking it by eye. The key is to be vigilant and avoid overcooking, which can lead to dry and unappetizing results.
Tips for Cooking Thin Cut Chicken Breast Perfectly Every Time
To make sure your thin cut chicken breast turns out perfectly every time, there are a few extra tips and tricks to keep in mind. From marinating the chicken for added flavor to letting it rest after cooking, these tips will help you achieve juicy, flavorful results.
Marinating for Flavor and Moisture
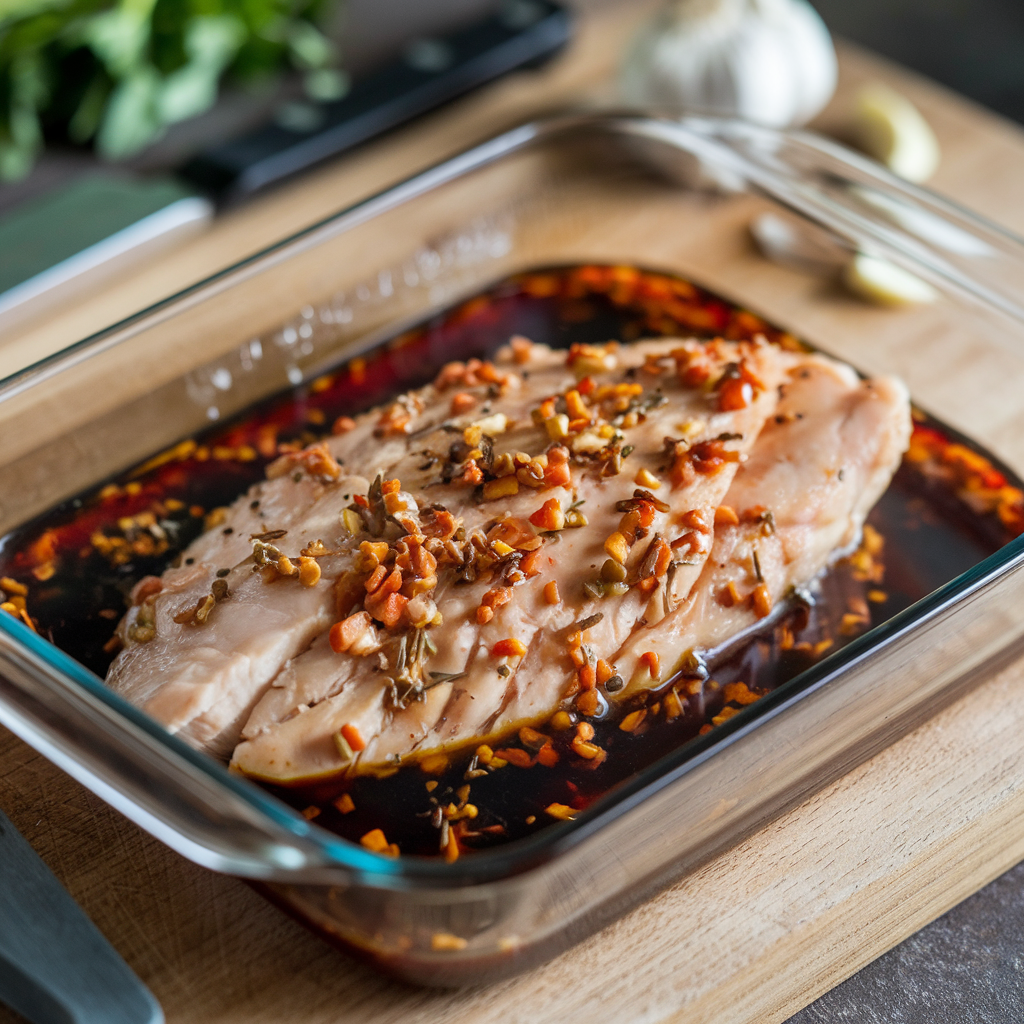
Marinating thin cut chicken breast is one of the best ways to enhance its flavor and keep it juicy. Thin cuts of chicken can dry out more easily, but a good marinade can help lock in moisture and infuse the meat with delicious flavors.
- Recommended Marinades
Try a simple marinade of olive oil, lemon juice, garlic, and herbs like rosemary or thyme. Alternatively, you can use a tangy yogurt-based marinade or even a soy sauce and honey mixture for an Asian-inspired flavor. A marinade with acid (like lemon or vinegar) helps tenderize the chicken and keep it moist. - How Long to Marinate Chicken Breast
For best results, marinate the chicken for at least 30 minutes, but up to 2 hours. Thin cuts don’t require long marinating times because they absorb flavors quickly. Avoid marinating for longer than 2 hours to prevent the meat from becoming too soft or mushy.
Resting Chicken After Cooking
Resting the chicken after cooking is a simple but important step. Allowing the chicken to rest for a few minutes helps the juices redistribute throughout the meat, making it more flavorful and moist.
- Why Letting Chicken Rest is Crucial
When you cook chicken, the juices inside the meat are pushed to the center. If you cut into the chicken immediately after cooking, those juices will spill out, leaving the chicken dry. Resting allows the juices to reabsorb into the meat, keeping it tender and juicy. - How Long to Rest the Chicken
After cooking, let your thin cut chicken breast rest for about 5 minutes. This short resting period is enough to allow the juices to redistribute while also ensuring the chicken stays at the perfect temperature.
These simple tips—marinating your chicken for flavor and resting it after cooking—will help elevate your thin cut chicken breast to the next level. Whether you’re grilling, baking, or pan-searing, these practices will ensure juicy, flavorful chicken every time.
Common Mistakes to Avoid When Cooking Thin Cut Chicken Breast
Even experienced cooks can make mistakes when cooking thin cut chicken breast. Because thin cuts cook so quickly, it’s easy to either overcook them or not cook them enough. Here are some common mistakes to watch out for and how to avoid them.
Overcooking and Dryness
One of the most common issues when cooking thin cut chicken breast is overcooking, which leads to dryness. Thin cuts of chicken breast are lean, meaning they have very little fat to keep them moist during cooking. Without the right technique, the meat can easily become tough and dry.
- Signs of Overcooked Chicken
Overcooked chicken will feel tough and rubbery to the touch. When you cut into it, you’ll notice the meat is stringy and the juices are no longer running clear; they might even look a bit dry or burnt. To avoid this, always monitor the cooking time carefully and check the internal temperature with a thermometer. - How to Avoid Overcooking
The best way to prevent overcooking is to cook the chicken over medium heat and check it often as it cooks. Use a meat thermometer to ensure it reaches 165°F (75°C) without going over. Resting the chicken after cooking will also help retain its moisture.
Not Using the Right Cooking Method
Thin cut chicken breast is versatile and can be cooked using several different methods. However, not every method works well for every situation. Using the wrong technique can lead to poor results.
- When to Pan-Sear vs. Grill vs. Bake
Pan-searing is best for quick meals where you want a golden-brown crust. Grilling is ideal for a smoky flavor, but it requires careful monitoring to prevent the chicken from drying out. Baking is a great option for cooking several pieces at once, but it can sometimes result in drier meat if not done carefully. - How to Choose the Best Method
Consider the time you have and the texture you want. For a crispy exterior and juicy inside, pan-searing is perfect. If you’re looking for a more hands-off method, baking is the way to go. For the smoky flavor and grill marks, grilling is the best option. No matter the method, always adjust cooking time based on the thickness of the chicken.
Avoiding these common mistakes—overcooking and using the wrong cooking method—will make a big difference in achieving perfect thin cut chicken breast every time. Whether you’re pan-searing, grilling, or baking, keep a close eye on the chicken and use the right technique for the best results.
Storage and Leftover Tips
Storing and reheating leftover thin cut chicken breast properly can help you enjoy it for meals later in the week. Chicken breasts can dry out quickly if not stored and reheated correctly, but with the right techniques, they can still taste fresh and juicy.
How to Store Leftover Thin Cut Chicken Breast
Proper storage is essential for maintaining the quality and safety of your cooked chicken. If you’re planning to keep leftovers, make sure to store them in an airtight container to retain moisture and prevent contamination.
- Storing in the Refrigerator
Once your chicken has cooled down to room temperature, place it in an airtight container. Stored properly in the fridge, leftover thin cut chicken breast will last for up to 3-4 days. Be sure to refrigerate it within two hours of cooking to prevent bacterial growth. - Storing in the Freezer
If you want to keep your chicken for a longer period, freezing is a great option. Wrap the chicken in plastic wrap or foil before placing it in a freezer-safe bag or container. When properly sealed, frozen chicken breasts can last for up to 3 months. Label the container with the date so you can easily track how long it’s been in the freezer.
Reheating Leftover Thin Cut Chicken Breast
Reheating leftover thin cut chicken breast can be tricky because it can quickly become dry. However, there are a few methods you can use to reheat the chicken while retaining its moisture.
- Reheating in the Oven
Preheat your oven to 325°F (165°C). Place the chicken on a baking sheet and cover it loosely with aluminum foil to keep moisture in. Reheat for about 10-15 minutes or until the internal temperature reaches 165°F (75°C). This method helps preserve the texture of the chicken without drying it out. - Reheating on the Stove
If you prefer to use the stovetop, heat a non-stick skillet over medium heat. Add a small amount of oil or broth, then cover the skillet to trap steam and keep the chicken moist. Heat for about 5-7 minutes, turning occasionally to ensure the chicken warms evenly. This method works best for smaller portions or when you want to quickly reheat the chicken.
Can You Reheat Chicken More Than Once?
It’s generally not recommended to reheat chicken more than once, as this can increase the risk of foodborne illness and lead to a decrease in quality. If you have large amounts of leftovers, try to reheat only the portion you plan to eat.
- Tips for Reducing Waste
To avoid excessive reheating, try to portion your leftovers into smaller servings before storing them. That way, you can heat only what you need for each meal, ensuring that the rest stays fresh and doesn’t lose its texture.
By following these storage and reheating tips, you can enjoy your leftover thin cut chicken breast without sacrificing flavor or texture. Proper storage ensures the chicken stays safe to eat, and reheating methods like the oven or stovetop help maintain its juiciness, so you don’t end up with dry meat.
Conclusion
Cooking thin cut chicken breast can be a quick and delicious way to prepare a meal, but it does require attention to detail to achieve the best results. By understanding the ideal cooking times, using the right techniques, and avoiding common mistakes, you can ensure that your chicken turns out tender and juicy every time.
Recap of Cooking Methods and Tips
Whether you prefer pan-searing, grilling, or baking, each method offers its own set of benefits. Pan-searing gives you a crispy exterior, grilling adds a smoky flavor, and baking provides a hands-off way to prepare multiple servings. Remember to always monitor the cooking time and check the internal temperature to ensure the chicken is fully cooked without being overdone.
Key tips for success include marinating the chicken for flavor and moisture, letting it rest after cooking to redistribute juices, and storing and reheating leftovers properly. With these practices, your thin cut chicken breast will be flavorful, juicy, and ready for any meal.
Final Tips for Juicy Chicken Every Time
To consistently cook perfect thin cut chicken breast, avoid common pitfalls like overcooking and not using the right cooking method. Invest in a meat thermometer to check doneness accurately and always allow the chicken to rest before cutting into it. By following these tips and practicing a few techniques, you’ll become a master at cooking thin cut chicken breast, turning this versatile ingredient into delicious meals time and time again.

1 thought on “How long do you cook thin cut chicken breast?”